Create a New Vendor
Vendors represent the suppliers your organization buys devices from (e.g., DJI Europe B.V., Media Markt, Mobil Computer). Registering vendors lets you link every purchase to its source, show vendor metadata on device detail panels, and filter devices by vendor in reports.
How to create a vendor
-
Click Vendors in the sidebar.
-
Click the + Add Vendor button in the top-right corner.
-
Fill in the New Vendor side panel:
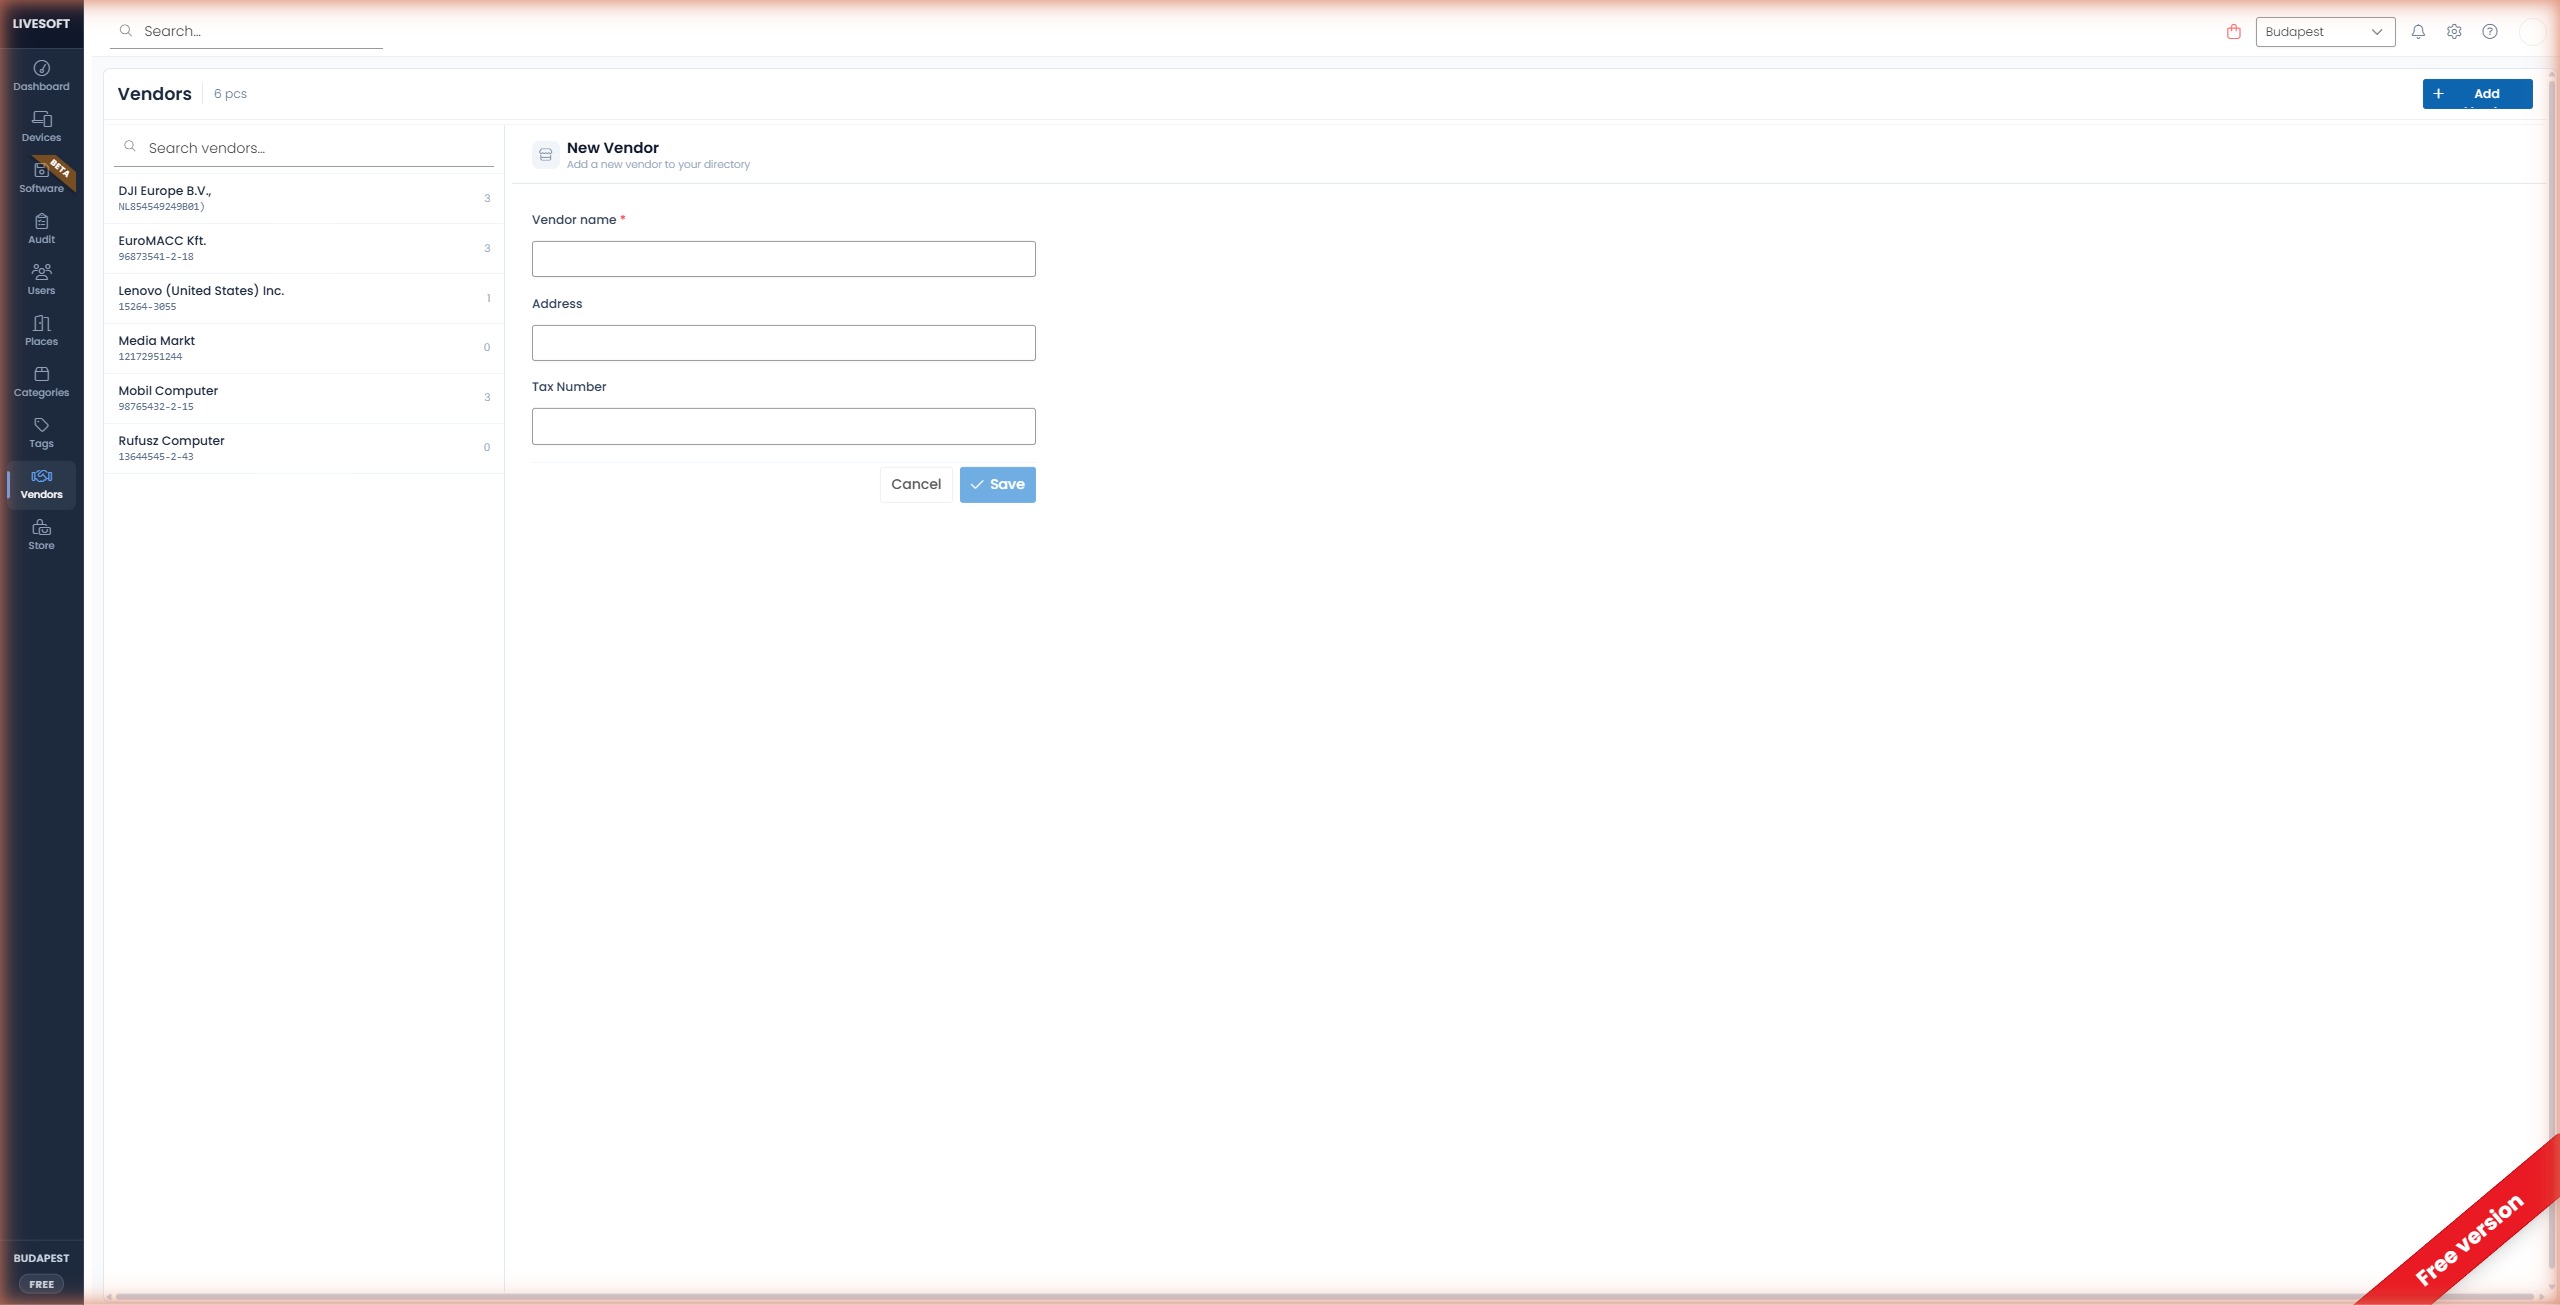
Field Required Notes Vendor name Yes 1–100 characters. Must be unique within the tenant. Address No Free-text postal address. Shown on the vendor detail panel and on device invoice previews. Tax Number No VAT / tax registration number. Helpful for reconciliation with accounting exports. -
Click Save to create the vendor.
The new vendor immediately appears in the list on the left (sorted alphabetically) and becomes selectable on the Add Device and Edit Device dialogs under Invoice & Financials → Vendor.
Vendor list
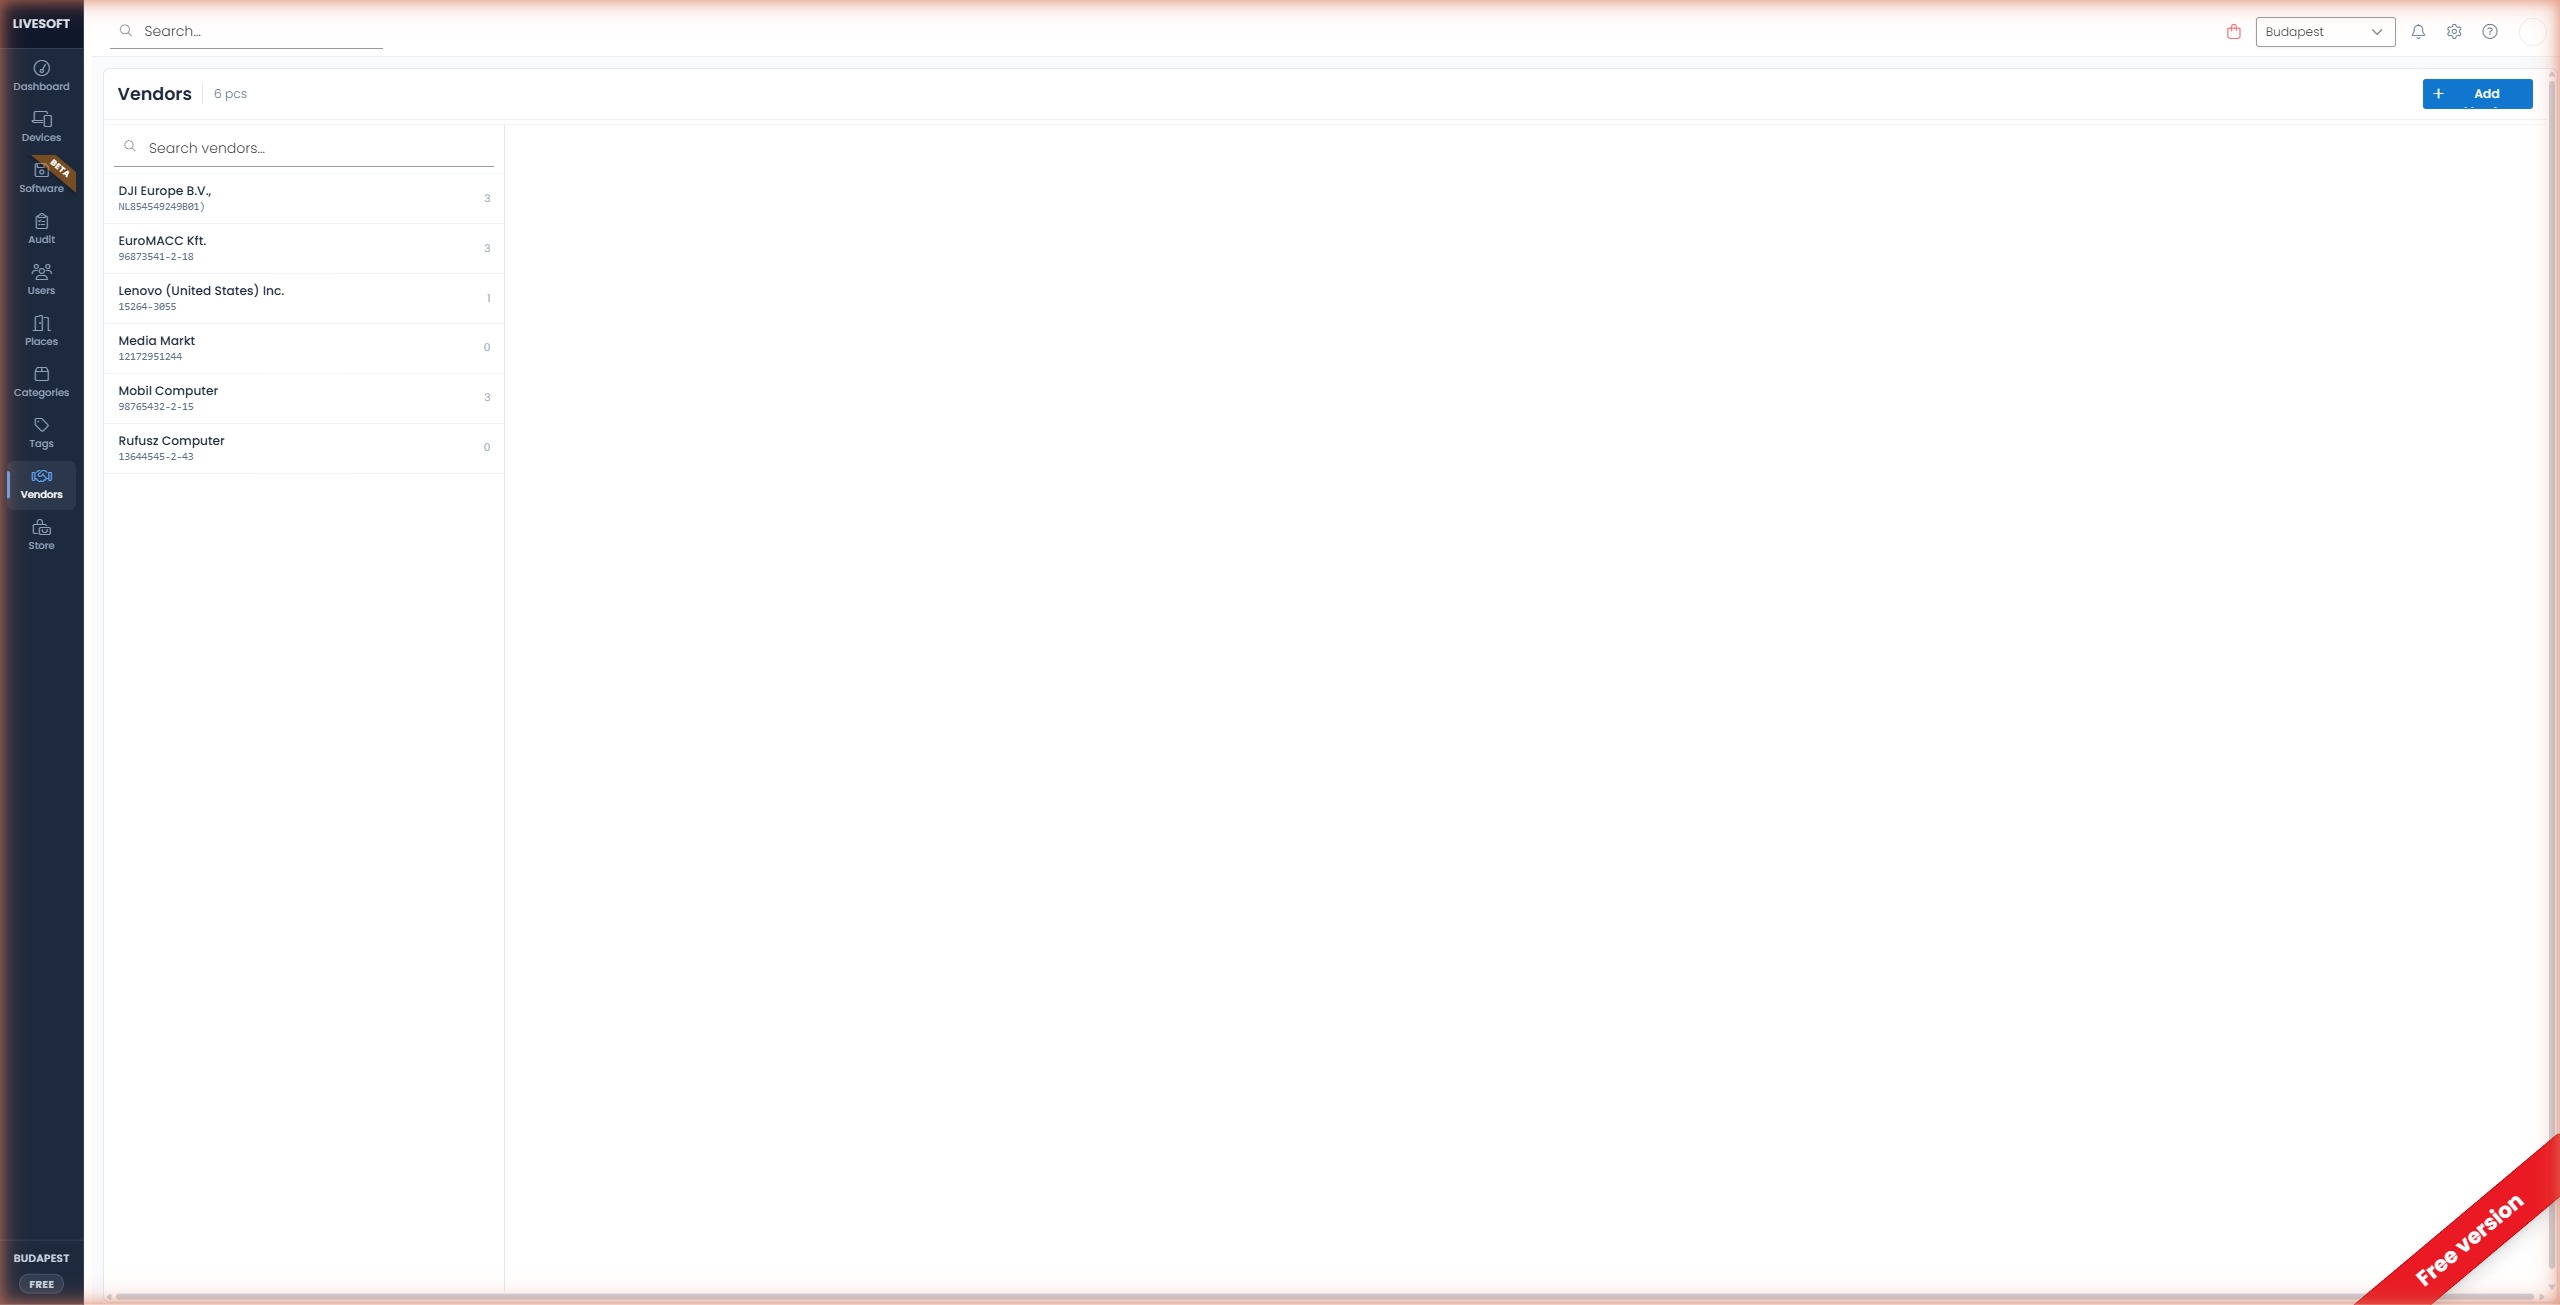
Each row shows the vendor name, tax number (if provided), and the number of devices linked to this vendor. Click a vendor to view the list of devices sourced from it.
What to do next
- Assign a vendor to a device during Add Device or via the info panel.
- Delete a vendor that is no longer needed.
- Enable Invoice Management to expose the Vendor selector on device records.
If the AI Recognize feature on invoice upload identifies a vendor that does not yet exist in your list, you can create it in one click from the AI suggestion panel — no need to leave the Add Device flow.